So I learned how to print (and fail) on a risograph machine! The process was tedious but rewarding, so buckle up:
Final Animation
link to p5js sketch
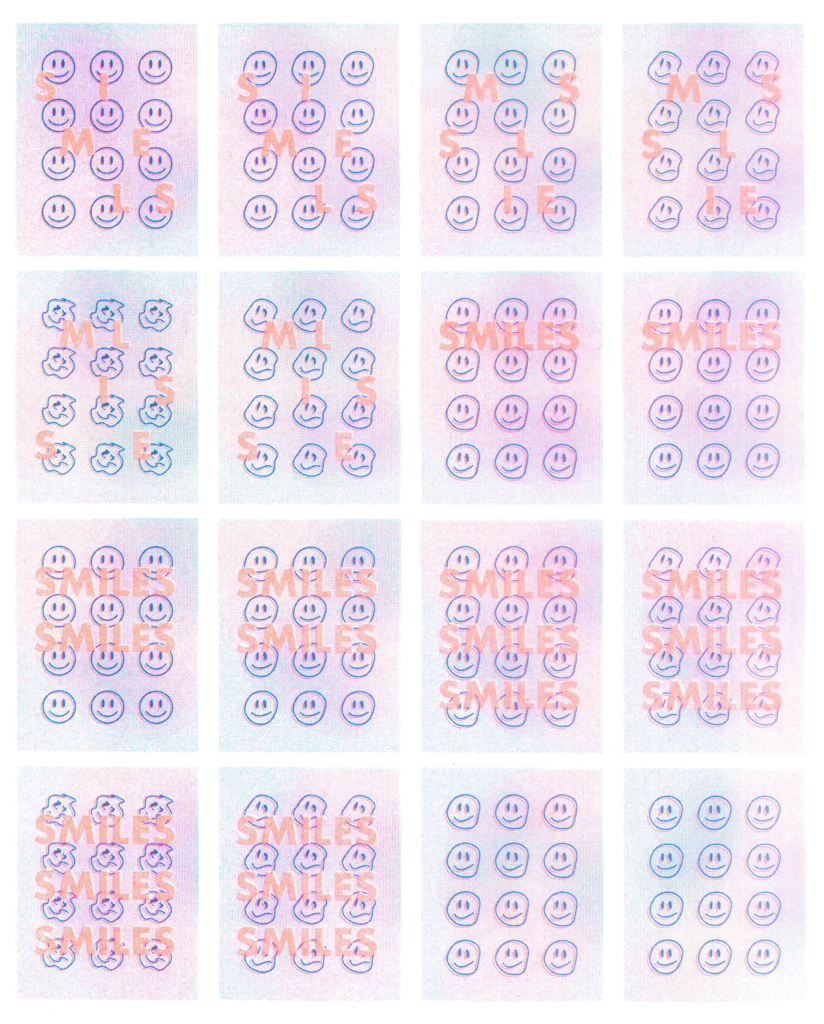
Designs
I’ve been wanting to do a smiley face animation sequence for a while. I designed a set of 5 frames of smiley faces that when put together looked like they were glitching.
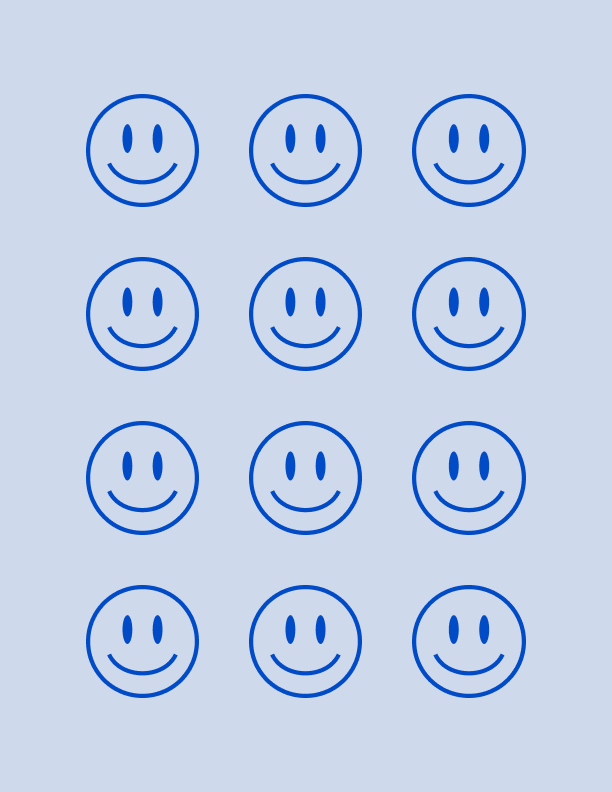
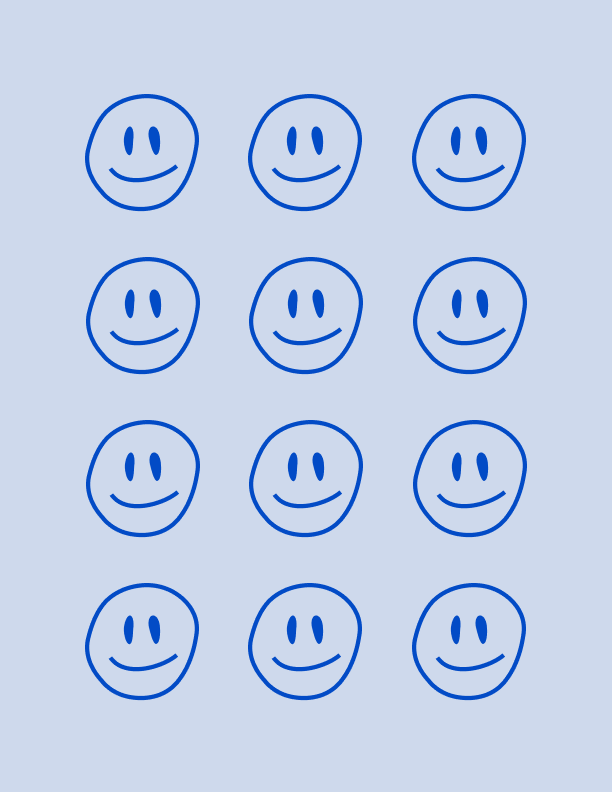
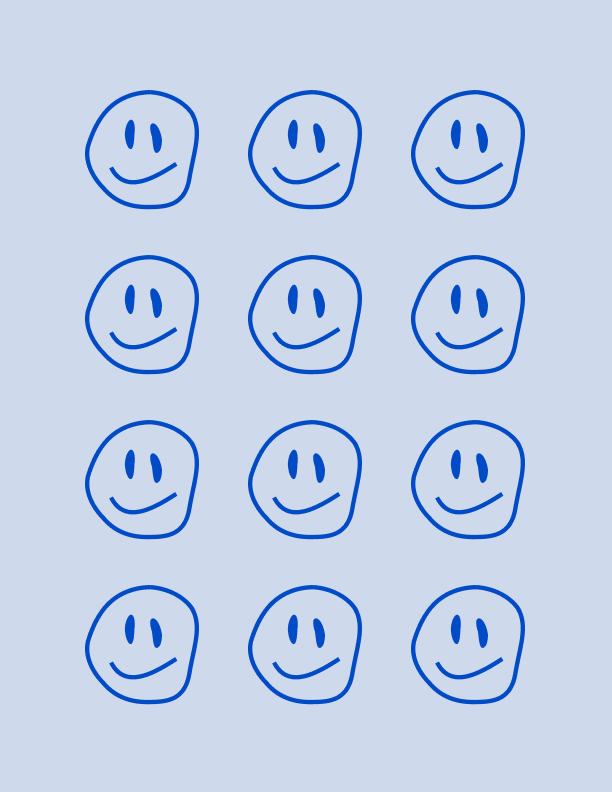
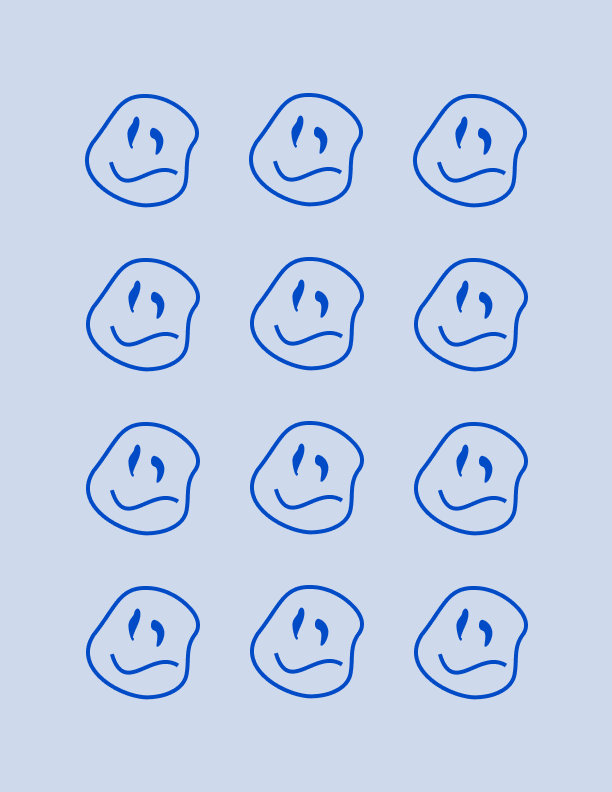
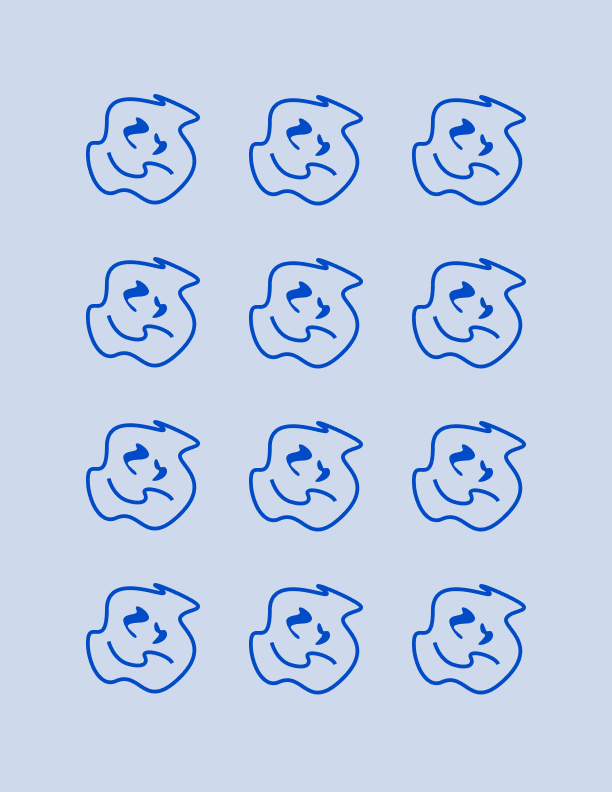
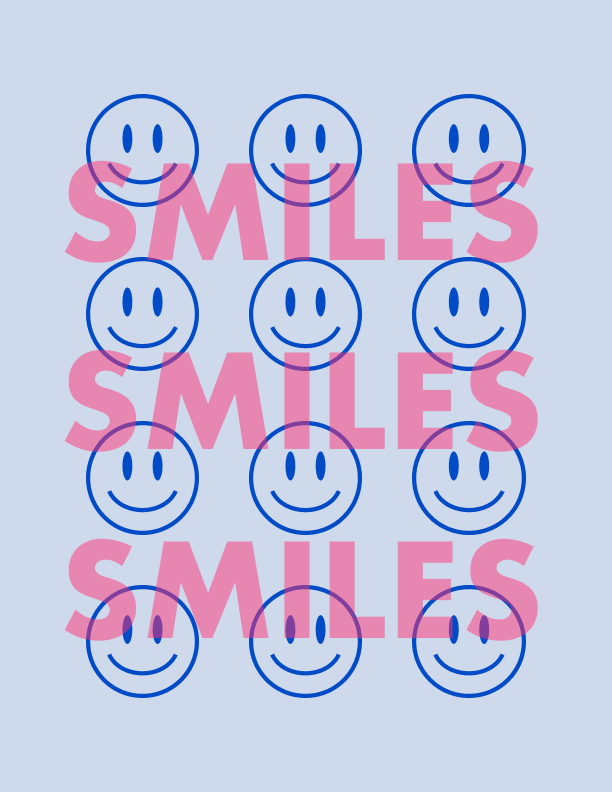
Since the assignment required 2 colors, I overlayed text on top of the smiley faces, thinking it could make the design more interesting. To test out the animation, I put all my frames on p5js and used the preload() function to test out the animation.
Printing
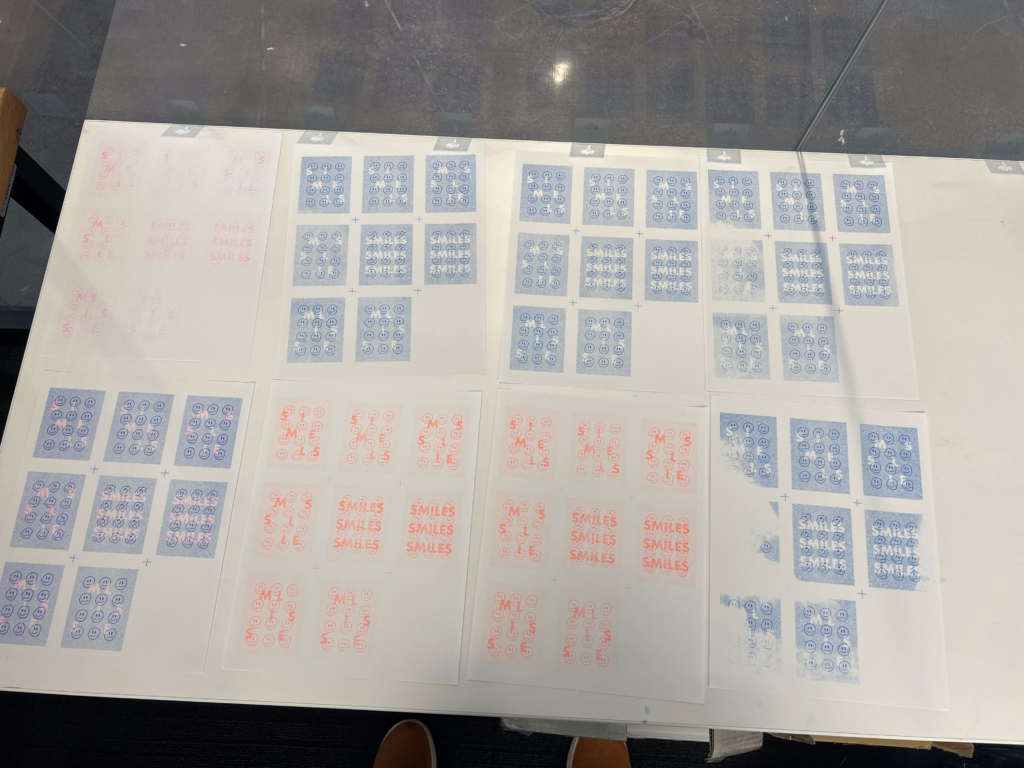
Now it’s time to print! I spent some time learning the ins and outs of a risograph machine. At one point I was frustrated because the color was not showing as vibrant as I wanted it to be. I also realized that my classmates had far more complex animations, and so I also decided to play with the text on these prints.
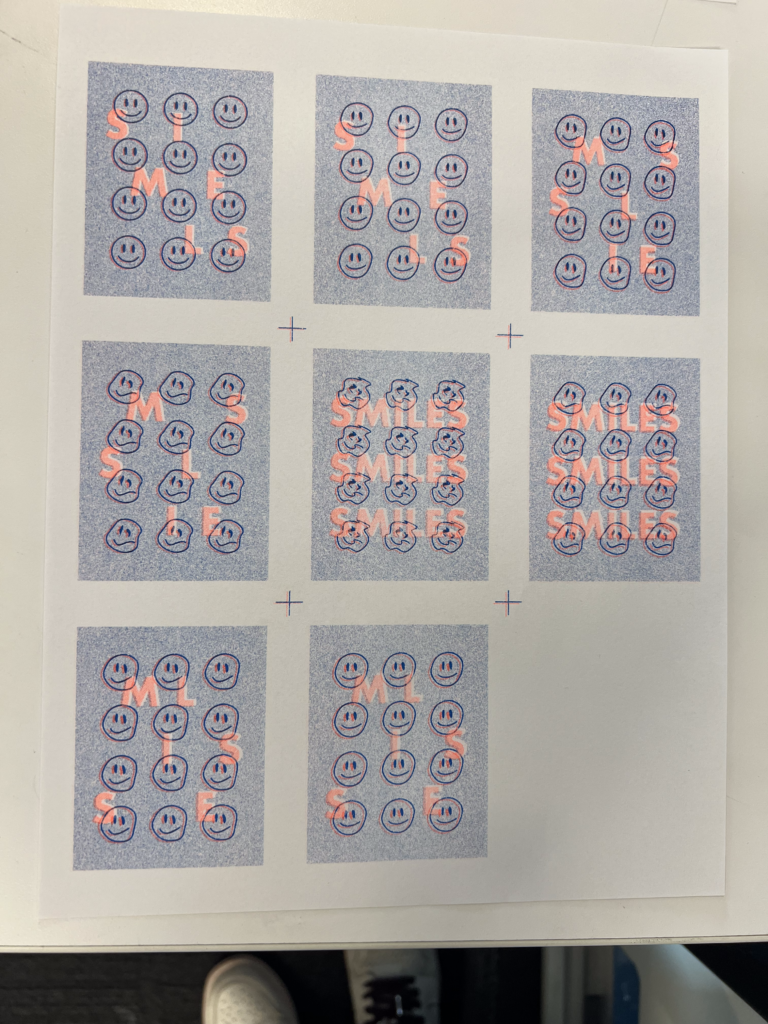
Reworking my Prints and Animation
I created a longer version of my animation here by doubling the frame count and playing with the colors of the background. The digital designs looked great and the animation looped perfectly, so I went ahead and re-printed my work. The alignment did not come out perfectly, but I ended up loving how the imperfection made the smiley faces look even more glitchy.
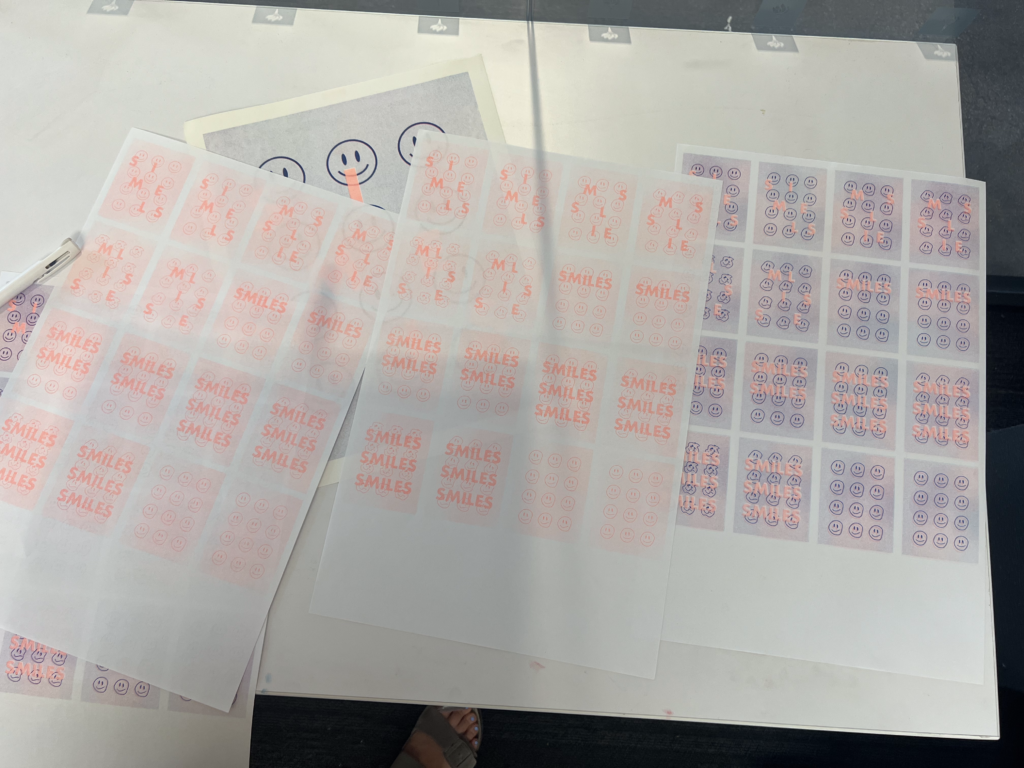
Once these were done I scanned them, individually cropped each frame, put them back on p5js, and voila! I have an animated risograph print!
Work by Jackie Sabillón Pinto